Thursday, February 28, 2013

K-3rd Manners and Etiquette Class

Yesterday I had the opportunity to teach a manners and etiquette class again, only this time instead of teaching it to older students, I taught it to the Kindergarten through 3rd grade students. The class is part of an enrichment after-school program.
Watching the youngest ones try to set a "proper" place setting was interesting!  They were trying their very hardest to do it correctly!  After a few minutes, I handed out the correct place setting mat, which showed them exactly what to do.  The mat is from Parents.com, and is printable.  The students were excited to learn they would take their mats home with them.
One thing that has impressed me about the groups I've taught is that in almost all of them, one of the students has said, "We need to pray!".  We pray before every meal too, thanking God for the food and all of His blessings.  It's heartwarming to hear these students ask to pray and know that not one of them has a problem with praying to God!  We live in a special part of the world to be able to do that freely!
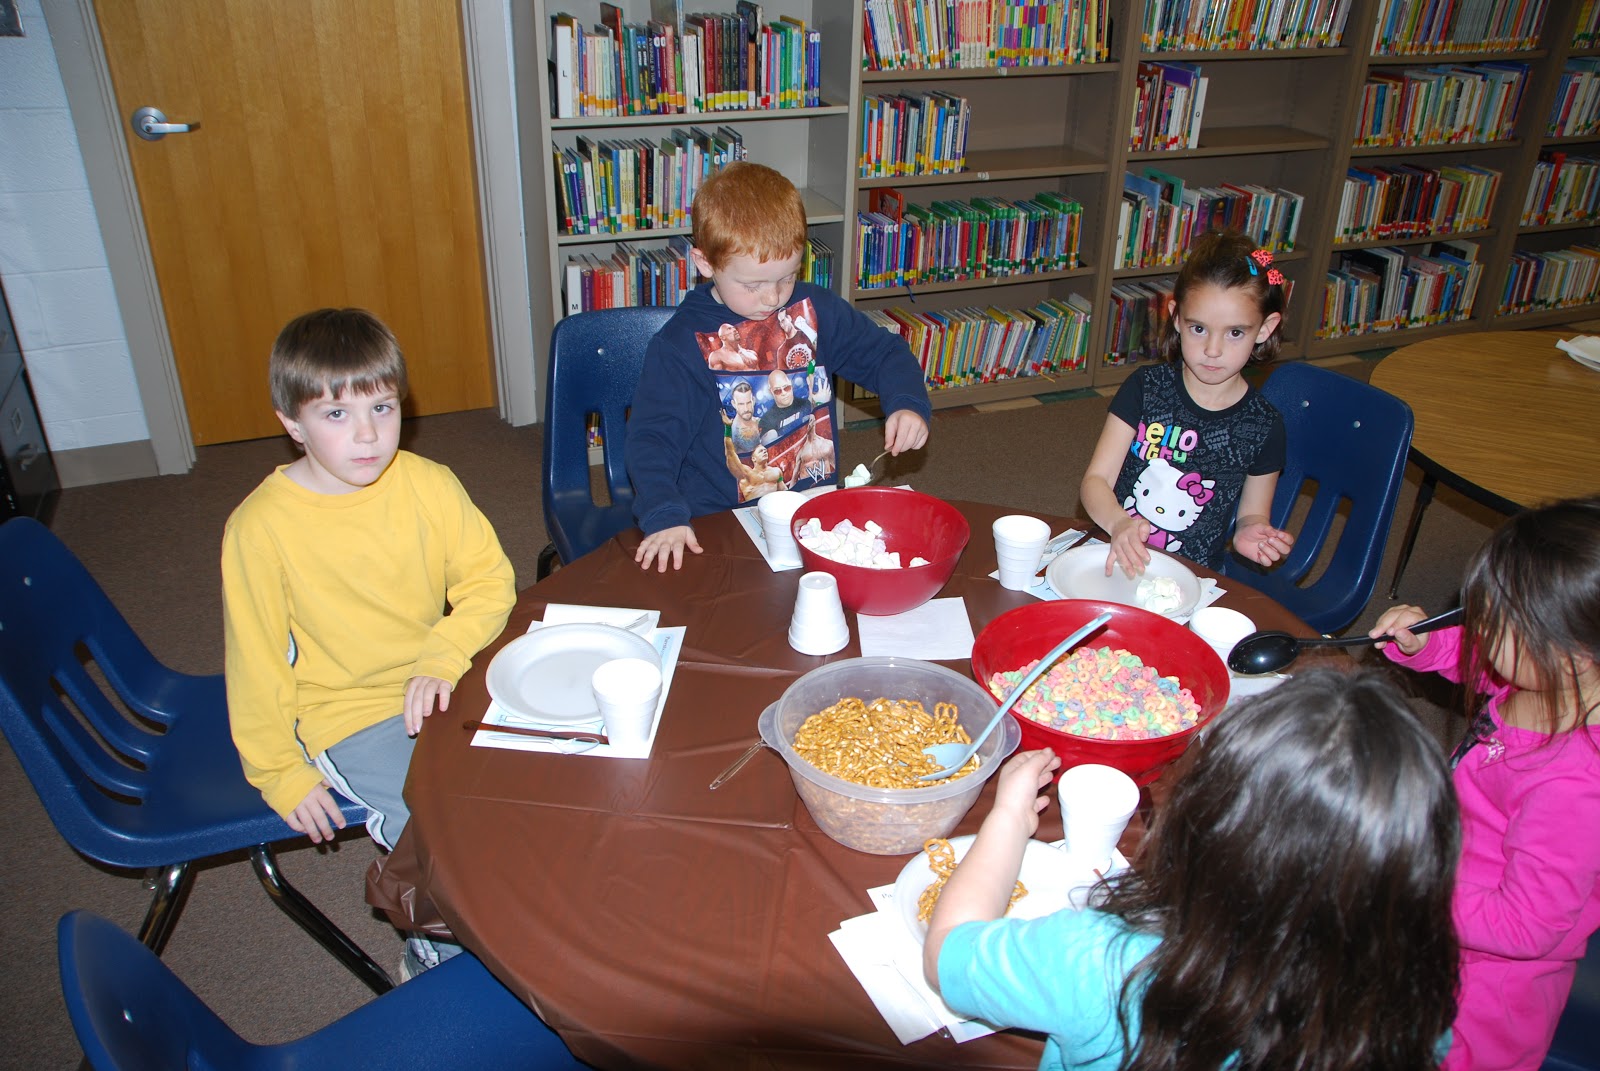
The snack bowls were passed around the tables, correctly of course!  Counter-clockwise or clockwise???  Do YOU know?? :)  Counter-clockwise....to the right.
Two young girls were in my older etiquette class last month.  As they sat down they were embarrassed to have to tell me they had forgotten all I had taught them!  Ha!!  Well, it just goes to show you that good manners and etiquette is something that should be taught all of the time.  Only then will it become a habit.  A one time thing during a short 25 minute class won't cut it!  Practice makes perfect...or at least 'better'!
As they eat their snack, I do a question and answer time, asking the students several questions with multiple choice answers.  I also like to read them this poem that I'll share with you:

THE GOOPS
by Gillette Burgess
The Goops they lick their fingers
And the Goops they lick their knives:
They spill their froth on the tablecloth
Oh, they lead disgusting lives!
The Goops they talk while eating,
And loud and fast they chew;
And that is why I'm glad that I
Am not a Goop, are you?

Pin It Now!

Wednesday, February 27, 2013

About the Pancakes....

Yesterday I shared a GREAT recipe with you - Cinnamon Roll Pancakes!  I told you how delicious they were and that mine didn't turn out pretty like they should have - most likely because of the whipped butter I used instead of stick butter.

By some of the comments I had, I figured some of you thought the photo of the pancakes were mine, though, even though I said mine were ugly!  I forgot to give credit to someone else (Who??  I don't know, but not me!).  SOOOO, I wanted to straighten that up today!  So this photo is my pancakes.  Ugly and without the glaze on!

But the real reason I want to show you this picture is because I want you to see that it doesn't matter!!!  Your family, unless they are waaaaaayyyyyy picky, doesn't care if it's pretty.  You may!  I may!  But most likely they don't!  So don't be afraid of trying new things.  Don't worry if it doesn't "look just right".  Actually, I've even taken some "not so pretty" things to others....if I knew it still tasted good.  We're all human.  We're just real....not all big-named chefs. In 20 years no one is going to say, "Mom, remember those ugly pancakes you made?".  No, but they're remember that you cooked for them.  So do your best and don't stress! :)
Pin It Now!

Tuesday, February 26, 2013

Cinnamon Roll Pancakes


This recipe is from "Texas Recipes"...a group on Facebook.  THESE WERE DELICIOUS!!!  Mine weren't as pretty as this picture, but I'm pretty sure it's because I didn't have stick butter, but a whipped buttermilk substitute.  I assure you that as long as they taste good, no one will care what they look like - unless you're at a food show or restaurant (maybe)!!  It was voted on by their followers to be the "Most Popular Recipe of 2012".  I know why!

Pancakes:
4 cups all-purpose flour
8 tsps baking powder
2 tsp. salt
4 cups milk
4 tbsps vegetable oil
4 large eggs, lightly beaten

Cinnamon Filling
1 cup butter, melted
1 1/2 cup brown sugar, packed
2 tbsp ground cinnamon

Cream Cheese Glaze
1/2 cup butter
4 oz. cream cheese
1 1/2 cups powdered sugar
1 tsp. vanilla

Directions:

To make the Cinnamon Filling:
Mix the three ingredients together. Place in a disposable piping bag and snip the end off or put in a Ziploc bag and snip the corner off.


To make the Pancakes:
Mix the dry ingredients in one bowl and the wet ingredients in another bowl. Stir them together until everything is moistened leaving a few lumps.

Heat your griddle to exactly 325 degrees. You don't want these too cook too quickly, and you won't want your cinnamon to burn.

Make desired size pancake on greased griddle and then using the piping bag and starting at the center of the pancake, create a cinnamon swirl. Wait until the pancake has lots of bubble before you try to turn it. You will find that when you turn it the cinnamon swirl will melt. The cinnamon will melt out and create the craters which the cream cheese glaze will fill.

To make the Cream Cheese Glaze:
In a microwave safe bowl melt the butter and cream cheese and then stir together. Whisk in the powdered sugar and vanilla. Add a little milk if needed to make
it a glaze consistency.
Place pancake on plate, then cover with cream cheese glaze.
Pin It Now!

Thursday, February 21, 2013

Jiffy Buttermilk Cornbread

(I baked mine in a sheet cake pan, so it's thin. You may want it thicker.)

My very favorite cornbread to make is straight from the box - Jiffy.  It's sad, I know!  I would think I would prefer homemade too, but I don't....and it's soooooooo easy!

Last night I was making Jiffy (I use 4 boxes for my family of six so that we'll have leftovers for lunches).  I had some buttermilk that I had bought for something, then ended up not needing it.  I needed to use it, so decided to use it in the Jiffy - as a replacement for regular milk.  Because buttermilk is so much thicker than regular milk, I added more than was 'called for'.

For four boxes of Jiffy, I would have needed 1 1/3 cup of milk.  I added an extra 1/3 cup of buttermilk to that measurement.  The result was a slight difference, but also a smoother, less course texture of cornbread.  I think I may change to using this buttermilk method every time now - except I'll just make my own with vinegar and regular milk because I hardly ever buy it because I don't use it often enough.

So, if you're a Jiffy fan....try this buttermilk cornbread and let me know what you think! I think you'll be glad you tried it!

(*On a side note, my brother-in-law introduced us to a 'butter' made from buttermilk. It's called "Move Over Butter".  It's delicious, too!  Perfect on the buttermilk cornbread!)
Pin It Now!

Monday, February 18, 2013

Shaped Biscuits

Yes, Valentine's Day is over, but you can show some "love" to your family by baking these shaped biscuits any day of the year.  And, of course, you could make them in any shape you want!

I made these heart-shaped biscuits for our high school basketball teams last week because both teams were playing in the Regional tournament on Valentine's Day.  (Note:  Yes, I'm aware that some of the "hearts" have an extra valve :).   I used my favorite biscuit recipe: JP's Big Daddy Biscuits.  The secret to this recipe is NOT adding the milk all at once.  I'm not very good at reading recipes, so I missed that important tidbit a few times!  It's a super recipe and adaptable to any shape.  These biscuits are really, REALLY BIG!  You can't tell it from the picture, but they are!
Pin It Now!

Thursday, February 14, 2013

Valentine Cards and Box for Kids

Tyler wasn't sure what he wanted his Valentine's box for 4th grade to look like.  He forgot to give me the note last Friday, so I actually found out about him needing a box from a friend on Facebook.  By the time we had time to do it, there wasn't time to plan anything.  In a small town with the nearest Walmart 30 minutes away, you have to improvise!  Good thing I buy lots of party stuff and have it for occasions such as this!  

I rummaged through the party drawers and found football looking take-out boxes, football tattoos, and football sunglasses.  I asked him if he wanted make a football "man" and he did!  We wrapped the box with green masking tape, taped the take-out box head and arms on with gorilla tape, and rubber-banded (is that a word??) the sunglasses onto the wire on the take-out box.  Tyler borrowed a pom pom from his sister for the fans' hair and added feet.  We asked his dad to cut out the mouth opening and Tyler put football stickers (tattoos), the #1 (He says it's not a number sign, but a hash tag! Ha!), and his name.  The whole thing only took about 15 minutes to make, which was great because it was way past his bedtime!
I had bought Tyler's class some Tootsie Roll Pops, but wasn't sure what he was going to do with them. After searching online and seeing lots of cute "flower pop" ideas, I knew he wouldn't want that.  Finally I saw some cute pictures like this - with the child holding out their hand like they were holding the sucker.  He wasn't too crazy about them, but since his older siblings thought they were cool, he was okay with it!

What a fun Valentine's Day it's going to be!  Too bad he's missing the party to go to his sister's basketball game!
Pin It Now!

Tuesday, February 12, 2013

Bubbly Love Potion Punch

(SPECIAL ANNOUNCEMENT:  The PLAYLIST is working again!  Turn up your volume and listen to some cute and fun songs!)
Need a fun punch for a Valentine's Day party?  Try this Bubbly Love Potion Punch.  It's pretty, pink (sorry the picture doesn't show it as pretty as it really is), and very good!  

Bubbly Love Potion Punch
Makes 4 to 6 servings

One 12 ounce can pink lemonade concentrate
4 cups raspberry sherbet
One 12 ounce can Sprite (or other lemon/lime soda)

In a pitcher, mix the lemonade concentrate with the recommended amount of water.

In a blender, combine the sherbet with 4 cups of the lemonade mixture; mix until combined. Pour into individual glasses. Add the soda, stir gently and serve.
Pin It Now!

"Wild About You" Valentine's Banquet

Sunday was the annual Valentine's Banquet for the "Senior Saints" of our church family.
This year, I chose to do a "Wild About You" theme, because of the really cute party supplies Hobby Lobby had in their Valentine's section.
Some of the young people helped me with the decorations by making placemats and bookmarks.  The older people really enjoyed these decorations - especially the ones made by the kids!
We have some glass vases at our fellowship building that I, and others, use for all of the events we host.  I found some tall glass candles at Dollar Tree that work perfectly in the center of the vases.  These candles have been used for one year (but went in the trash after this event!).  They've been replaced with new candles that will be used for the next year. 
The zebra print burlap was attached using glue dots, so nothing is stuck to the glass vase.  The inner candle was wrapped with black cardstock paper then surrounded with pink tulle.  I found the zebra print doilies at a party store in Oklahoma City.
I didn't get a very good picture of the Valentine Banner hanging by the teens' heads, but it was just hearts glued onto triangle shapes and clipped with mini clothes pins onto a zebra print ribbon.
The "Wild About You" theme was carried throughout the room, but I tried to "tone down" the decor a bit.  I didn't have a lot of time to decorate and also, it didn't take very long to take down.  It was still cute, even though it was really simple.  I need to adopt the word SIMPLIFY in a lot of things! :)  I'm getting better about that! 
I decorate the other side of the building - where the teens and young adults sit, but not too much. We want the Senior Saints to feel like it's their special day....and they do.

What a great day celebrating and treating these special seniors who are great Christian examples to all of us!


Pin It Now!

Monday, February 11, 2013

Painted Mason Jars

My daughter has been making these cool-looking painted mason jars!  She uses food coloring and Modge Podge.  I'm sure she saw it on Pinterest, but I'm not exactly sure of how she's been doing them. I searched for directions to share with you and found this tutorial from Six Sisters.  Their blog is on my list to the right side of my home page, but HERE is the direct link for the tutorial.

These are perfect for Valentine's Day gifts!  Maybe she'll let me have a few!
Pin It Now!

Thursday, February 7, 2013

Tea Punch


Note from Lori: This recipe was originally posted in 2009, but when I came across it today, I realized it was almost the same recipe that a friend used a few weeks ago at a baby shower.  The only difference is that she adds Sprite to it before serving. She calls it "Tea Punch" and it is really good!

Mom posted this recipe below and it was called "Tiger Tea" by her friend.   I'm calling it Tea Punch for this post and because of the addition of the Sprite, so that both names are in the archives.  ENJOY!

Posted by Donna:

I tried this recipe for the first time this weekend. About three years ago, a family friend told me she fixed this beverage for a group of friends and that everyone really enjoyed it. For some reason last week I decided it would be fun to try it out; and since our daughter and her family were coming for the weekend, I thought they could tell me whether it was a keeper or not.

3 qt. water, divided
6 individual tea bags (I used green tea just because that's what I had on hand.)
3/4 cup frozen lemonade concentrate
3/4 cup frozen orange juice concentrate
1 cup sugar

In a large pan, bring 1 quart of water to a boil. Remove from heat, and add the tea bags. Let the bags steep for 5 minutes. Discard the tea bags. Stir in the lemonade and orange juice concentrates, sugar and remaining 2 qt. of water. ( I tasted the tea after adding only 1-1/2 qt. of water and liked the taste without the full 2 qt. of water.) Either way is fine, though. Serve over ice. I also think this would be a very good hot tea.

We all thought it had a very good taste. Our nine year old grandson probably liked it more than anyone. It is something that I will definitely make again soon. The taste reminds me somewhat of the spiced tea mix that was so popular years ago that used Tang. I guess that's why I want to try it as a hot tea.

Our grandson told me to tell everyone that if you drink this Tiger Tea, you will grow a Tiger's Tail!!!!!!!!! I told him I would be sure and post his comment along with the recipe. So, if you're brave enough to try this recipe, just remember we warned you!!!!!!!!!!

Pin It Now!

Tuesday, February 5, 2013

Baby Shower Games

At a recent baby shower, we had several games two of the hostesses put together.  This was a guessing game.  Because the gender of the baby wasn't known, it was fun to have a blue and pink guessing game.  Guests wrote down how many items were in the jar.  It included "pink" rattles and pins, "blue rattles and pins, and Q-Tips.

Another fun game (and so sorry I missed getting a picture!) was covering the mother-to-be's eyes and having her put a diaper on the baby doll.  She did a great job!

Other games were found at YeahBaby.com.  Shower games are so much fun!  

Pin It Now!

Friday, February 1, 2013

Teaching Manners and Etiquette

 New to our school this year is an after-school program that is filled with all kinds of enriched learning experiences for students.  Recently I was asked to teach a few classes on manners and etiquette.  I had done a lesson like this for the 4-H club a few years ago and looked forward to sharing it with a different group of kids.  However, I wasn't sure how excited they would be about learning these topics!
As I talked to my own children about what I would be teaching, they quickly said there was no way anyone would listen to me if I didn't make it fun.  I knew that, of course!  Manners?  Etiquette?  No way!
As the students came into the room, they sat down at a table.  They had to set their place setting properly by just using disposable tableware.  There were probably 40 students that came through that afternoon.  One got the table setting almost right.  Of course, many got it "close" to right :).  I gave them a placemat (from Parents.com) of a proper, but simple place setting, so that they could "fix" their mistakes.
After setting the table, the students passed snack foods around.  As they passed them and served themselves, we talked about table manners.  They were already okay with learning manners and etiquette once they saw that they were going to eat snacks, but we played a game as they ate that became even more fun!
I divided each table up into teams and gave them multiple choice questions.  The team would choose A, B, C, or D and hold up the corresponding card for their answer.  They had fun, learned, and filled their tummies with goodies.  It was kind of fun hearing them say that they "loved" that class as they left!  

Hopefully the manners and etiquette didn't stop at the door as they left the class that day.  Hopefully there are table settings being set properly from time to time.....that there are less electronic gadgets at the table and more family time talking.  Hopefully there are more "thank you" and "please" responses coming from their mouths.  Hopefully what they learned that day was something that will stick with them for a long time.
Pin It Now!
 
Pin It button on image hover